 Hey folks! It’s me, Chris Arndt, here for another blog takeover, where I pick a guitar from Breedlove’s Organic Collection; make a bread recipe inspired by the instrument; and pair it with a beer.
Today, we’re exploring a different side of Breedlove—something less rustic and rich than last week’s Performer Concerto Bourbon CE, but more bright and modern. I’m talking, of course, about the Signature Concert Copper CE—a guitar with road-friendly size, studio-friendly sound and camera-friendly looks!
The quick breakdown:
– Torrefied European spruce top
– African mahogany back, sides, and neck
– Indian laurel fretboard and bridge
– Concert body style
– High-gloss Copper Burst finish
– 20 frets, more than enough range to show off any playing style you want
– A fancy-looking modern head shape, sure to catch the eye of any gearhead
This guitar is a true all-purpose workhorse. I’ve had it for three months and I’ve already toured with it, recorded with it and written with it. Plus, it’s the same color as one of my cats!
Coming up with a bread to match the Signature Concert Copper CE was a bit trickier for me than the Performer Concerto. Its universal applicability made me think about doing a nice white sandwich bread, but that seemed too plain. This guitar might be a jack-of-all-trades, but it is most certainly not a master-of-none; it deserves something far more special than simple white sandwich bread. Then, finally, it hit me: challah!
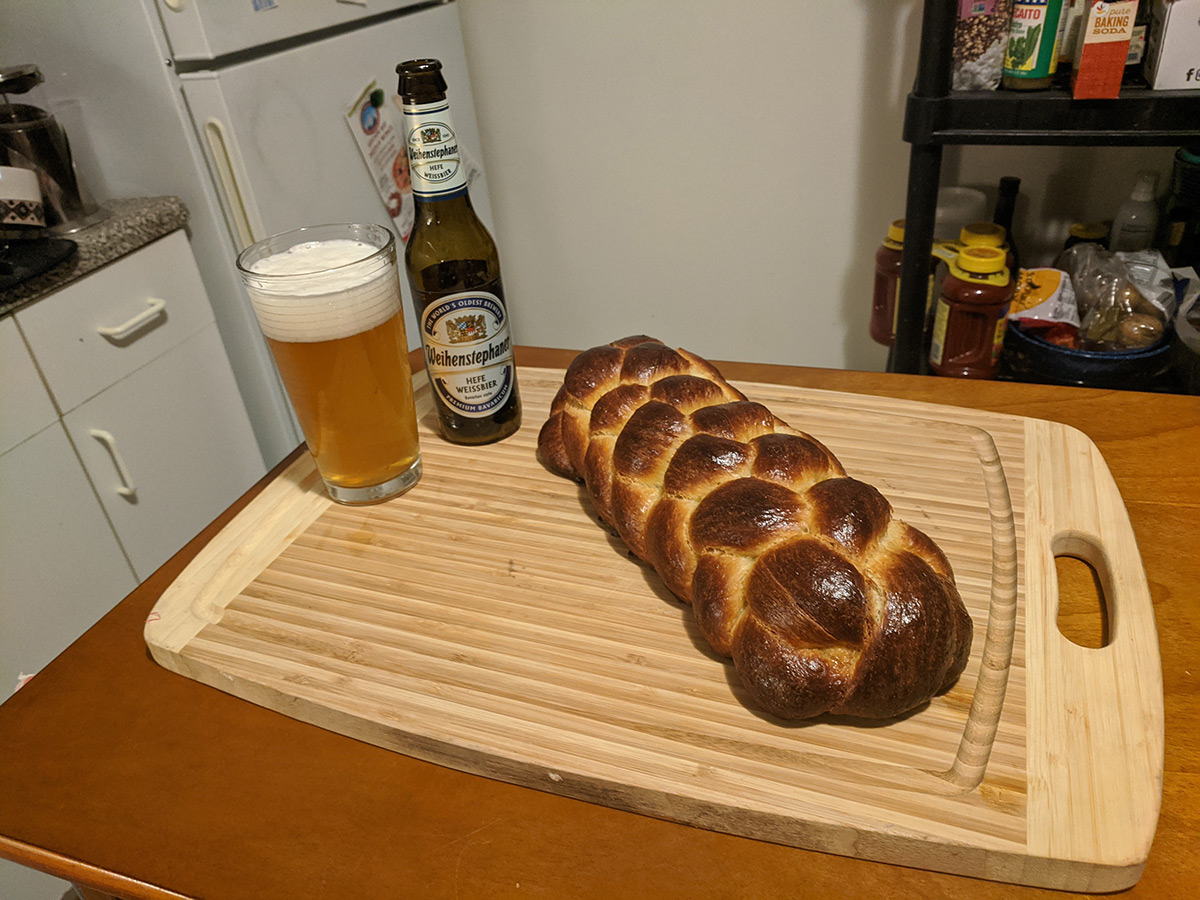
Challah has beautiful braiding to match the Signature Concert’s classics-never-go-out-of-style appearance. It has a dark blonde color with a slight swirl, just like the Copper Burst finish. And, most importantly, it has a truly wonderful, subtly sweet flavor that goes with everything. You can eat a good challah on its own; with butter or honey; as a side dish; even as dessert. I actually had an embarrassing amount of this very challah for dinner just last week. No judgment!
To make this bread, you’re going to need:
- all-purpose flour
- vegetable oil
- water
- honey
- large eggs
- salt
- yeast (instant or active dry)
- some other basic kitchen tools: bowls, a bench scraper/knife, instant-read thermometer
- kitchen scale
Credit where credit is due: this recipe is my riff on the King Arthur Flour challah recipe. Theirs is truly wonderful, but I wanted a little more sweetness and richness, and a lighter texture.
Let’s begin. Measure 500g of flour, 120g lukewarm water, 80g vegetable oil, 100g honey, two whole large eggs plus an extra yolk, 1.5 tsp kosher salt plus a small pinch (if you’re using table salt, make it 1.25 tsp) and a tablespoon of instant yeast into a large bowl. If you don’t have instant yeast, you can use active dry instead—take 1.25 tablespoons and mix it with the lukewarm water 5–10 minutes before you put the rest of the ingredients in the bowl. And remember, yeast has an expiration date! If you use dead yeast your bread won’t rise and you’ll end up with a beautiful, shiny golden brick.
A note on getting some extra flavor into the bread: I personally like this recipe with some sourdough discard in it, for a slight tang. In last week’s blog, I talked about how to create keep, and train a sourdough culture. The discard is the stuff you throw away every time you feed your starter. I usually add 50g of discard. Just remember to subtract the appropriate amount of flour and water—for me, 50g of discard is about 20g of water and 30g of flour, so I only use 470g flour and 100g water in the dough mix with the discard. If you decide to keep a sourdough starter around, it’s worth looking up some discard recipes—extra flavor and reduced kitchen waste, who doesn’t love that!?
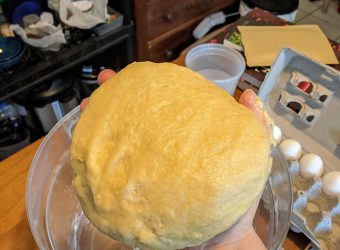
Now that you’ve got all your ingredients in a bowl, mix and knead for a few minutes, until the dough becomes smooth and slightly tacky. Then, let it sit until it just about doubles in size—depending on the honey, flour and vegetable oil you use, it might not quite double. As long as you get to a 1.5x size increase, you should be okay; it’ll be a little denser, but the bread is rich enough to work that way. This rise should normally take about 1.5–2 hours. My kitchen is the temperature of Elsa’s ice castle, so it took about three hours for me last time I made this recipe.
Once you’ve finished the bulk rise, put the dough onto a greased surface. You’re going to need some room, so find a space that’s at least 2’ x 3.’ I wipe vegetable oil over my whole countertop. Divide the dough into pieces, one piece per braid strand. It doesn’t really matter how many strands you pick—the goal is just to end up with a loaf that looks cool. I’m doing a six-strand braid—six strings! If you’re new to braiding dough, 3- and 4-strand braids are both beautiful and easy! This video has pretty useful tutorials on how to do a bunch of different braids, and I personally find the guy’s accent soothing as heck.
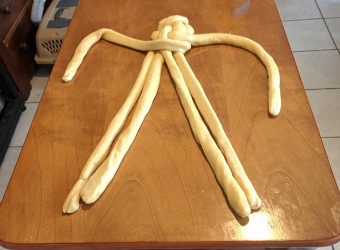
Once you’ve divided the dough, grease your hands and begin rolling the pieces out into strands. You’ll notice as you roll them that they begin to spring back at a certain length; cover in a towel and leave them for 15 minutes when that happens. The dough will relax and you’ll be able to roll it out further. It took me two 15-minute waits to get to 20” strands, which is where you want to be.
Now it’s time for the fun part—you get to braid the loaf! It can seem intimidating, but really, it’s not a big deal. Just give it a shot, and realize that whenever you see photos of braided bread, a professional baker who has braided thousands of loaves probably made it. My first few looked terrible, but they still tasted great! My only tip is not to pull on the strands as you move them around, or they’ll get all tapered and weird-shaped.
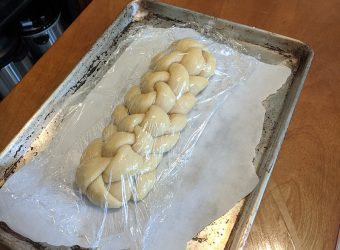
Carefully place the braided loaf on a parchment-lined baking sheet, and cover it with a greased sheet of plastic wrap. Let it proof (that just means let it rise) for an hour to 90 minutes, until it looks puffy and the cracks between strands have filled in a bit. When you’ve got about 30 minutes of proof left, preheat the oven to 375F. Once it’s fully proved, beat an egg with a splash of cold water and glaze the entire loaf. Place the baking sheet with the challah on one or two more baking sheets to insulate the bottom of the loaf and prevent burning. Bake until you’ve got the color you want—a deep blonde should take somewhere between 18–25 minutes, depending on your oven. Tent it in aluminum foil and bake until the internal temperature registers between 190F and 195F, about another 25–35 minutes depending on your oven. Let it cool for an hour or so and enjoy!
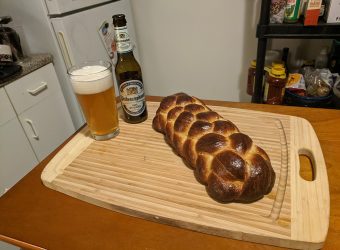
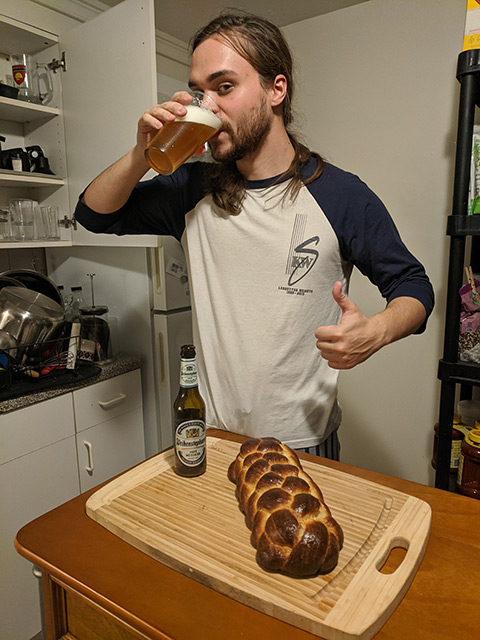
As far as a beer pairing is concerned, I’m going with the Weihenstephaner Hefe Weissbier. It’s a world-class Bavarian wheat beer, from the “world’s oldest brewery,” and a personal favorite of mine. And, like both the Signature Concert and this challah recipe, it’s got the guts to fly solo as well as the subtlety to work on a team. The sweetness in the challah and the creaminess in the Weihenstephaner match each other perfectly, especially when accompanied by a jam session on a nice Breedlove acoustic. So, go bake some fancy bread, drink some German beer and play some sweet licks on a Signature Concert Copper CE! And don’t forget to tune in next week, for my next bread/beer/Breedlove combination.
