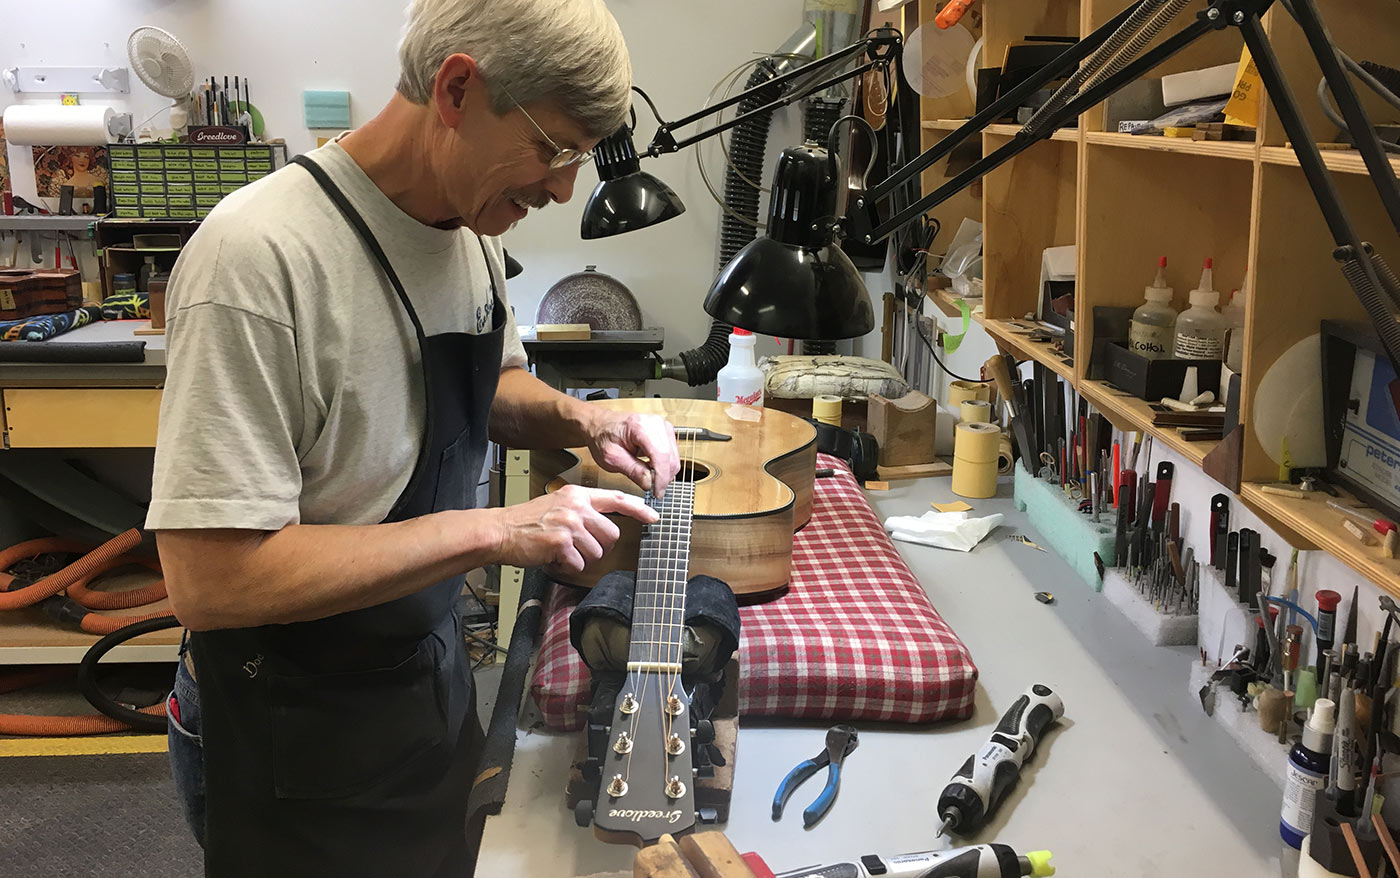
The seasons can be tough on your guitar. Changes in humidity and temperature can commonly cause fret buzz. Fret buzz is a buzzing noise that occurs when the string vibrates against one or more of the frets. Sometimes you can experience fret buzz in the open position, and other times it could be specific strings and/or frets.
It’s usually easy to isolate which strings and frets are buzzing. Generally speaking, if the buzz seems to be only at the 1st fret, that usually means the nut is too low, or the grooves in the nut have worn down too low. If the buzz is concentrated in the middle frets, 3rd to 9th, the truss rod may require adjustment. If the buzz is coming from the fingerboard extension, it’s likely humidity related.
We put some tips together with our Warranty/Repair department to help you troubleshoot.
1) String Height: The first step to troubleshooting fret buzz is to measure your string height where the neck joins the body. To give the strings enough clearance to vibrate without causing fret buzz, we set guitars up at 3/32” on the bass side and 2/32” on the treble side. This measurement is taken at the 14th fret for most guitars and 12th fret for Concertina body guitars. Measure the gap from the top of the fret to the bottom of the string.
If your string height is below those settings, you’ll need to raise the action back to the factory specs. You do this by adjusting the truss rod and then raising the saddle according.
Learn how to adjust your truss rod here. We recommend a proper relief of .005-.007”
Once the truss rod is adjusted, check the string height measurements again. If you are still below the factory setting of 3/32” on the bass side and 2/32” on the treble side, you should start with a tall saddle and sand it down to the factory specs for string height of 3/32” on the bass side and 2/32” on the treble side.
2) Get Setup: It’s recommended to have somebody with experience do the setup for you. Whoever does the setup should have general guitar repair knowledge. Important things to consider:
· Only turning the truss rod a ¼ turn at a time and allowing the guitar acclimate.
· Sanding the saddle without taking it too far down
· Adjusting the nut when necessary.
3) Humidity:Humidity can play a significant role in both causing and avoiding fret buzz. Ideally, the guitar should be stored between 40% and 50% humidity at all times. We recommend getting a humidifier to maintain optimal conditions in your case.
When a handmade instrument experiences humidity below the recommended level, the wood will dry out and cause the top to drop down or sink in. When the top drops down, the bridge and strings sink as well, which may cause fret buzz.
If over-humidified, the top will rise and appear bloated. The fingerboard extension (frets 14-20) are glued to the top, and when the top rises, the fingerboard extension rises with it. This results in the neck looking like a “ski jump” and the frets on the fingerboard extension getting closer to the strings than the rest of the neck. This can cause fret buzz in the upper register.
Some tips to consider:
To be sure your acoustic guitar is properly humidified, carefully lay a long straight edge across the top of the guitar. Your guitar was originally built with the top arched up just slightly. When properly humidified, the straight edge should make contact with the top, except for a slight gap at the outer edge of the top (measuring approx. 1/32’ at either end). If you see a gap at the outer edge of the top greater than 1/32”, your guitar is bloated and over humidified. Some desiccant packs stored in the guitar body or with the guitar in the case can help dry it out. You should also lower the overall humidity levels with a room de-humidifier. Continue dehumidifying until the gap you previously measured is down to 1/32” at the outer ends.
If you lay the straight edge across the top and the straight edge is not in contact with the top, that is an indication that the top has dropped down and dried out. In this case, you will want to raise the overall humidity levels until you lay a straight edge on the top and achieve the desired measurement of 1/32” gap at either end of the straight edge.
